This page shows you how to create employment terms for your employees based on employment terms templates.
Since an employment term needs to be created for every employee in your organization, this part of the setup may take some time, depending on the size of your company.
Set up Employment Terms
Objective
Process
HR Manager
Create an employment term for an employee
HR Manager
Link to an employment term template
HR Manager
Fill all necessary data
HR Manager
Repeat the process for all of your employees
Prerequisites
- You already created employment term templates
- You are an HR Manager
Click Through
- Start in HR HUB
- Under Administration, click on Employees
- Open the file of the employee for whom you want to create an employment term
- Go to the tab Employment Terms & Wages
- Under Employment Terms, select + New Employment Term
- In the Summary tab, enter all the necessary data:
- Employee: the respective employee
- Employment Term Template: select an employment term template here. As soon as you save the Employment Term for the first time, all data stored in the template will be automatically applied.
- Classification: Select here whether the employment term is permanent or temporary. If you select temporary here, another field with the end date will be displayed
- Start Date: The date from which the employment term is valid
- Save for the first time to see which information is already provided by your Employment Term Template, then fill the remaining fields:
- Type: Select the type of employment here, such as full-time, part-time, internship, etc.
- End Date: The date on which a fixed-term contract ends. The field is only available for the classification temporary.
- Probation Period: Enter the length of the probation period in months here
- Probation Until: Can be used as an alternative to specifying the probation period in months
- Payroll Period: Specify the accounting period for all remuneration here. Note, however, if you select Monthly here, you will not be able to generate weekly payments. The periods for billing and payment must always be identical.
- Terms of Notice: Open text field to define the length of the notice period
- Terms of Notice Probation: Enter any deviating notice period during the probation period here
- Status Reason: You can choose here between Draft, In negotiation and Valid. As a rule, you create the contract as a draft. As soon as it is complete and correct, switch to In negotiation and finally, if everyone agrees, to Valid.
Important: Do NOT set the Employment Term to Valid as long as you still plan on making changes to it. Setting the Status Reason to Valid will lock most fields, making further changes impossible
- Fill in the fields in the Working Hours tab:
- Working Hours: Enter here how many hours are to be worked on which day. These values form the basis in Time Management for creating and calculating attendances and working hours.
- Working Hours Week: This gets calculated automatically from the hours entered per day.
- Check your entries and end the process with Save & Close
- Repeat this process for all of your employees
- Once all of your employees have an Employment Term with Status Reason 'Valid' in the system, this part of the setup is done.
Hint
- If you want to use irregular working hours for only a few of your employees, activate work patterns in their employment terms now (the detailed setup of work patterns is described later in the Time Tracking module). If you want to use irregular working hours for many or all of your employees, we recommend activating work patterns in the employment terms templates.
- Note that once the contract's status reason is set to Valid, it is locked for most changes. Only leave entitlements and wages can still be added.
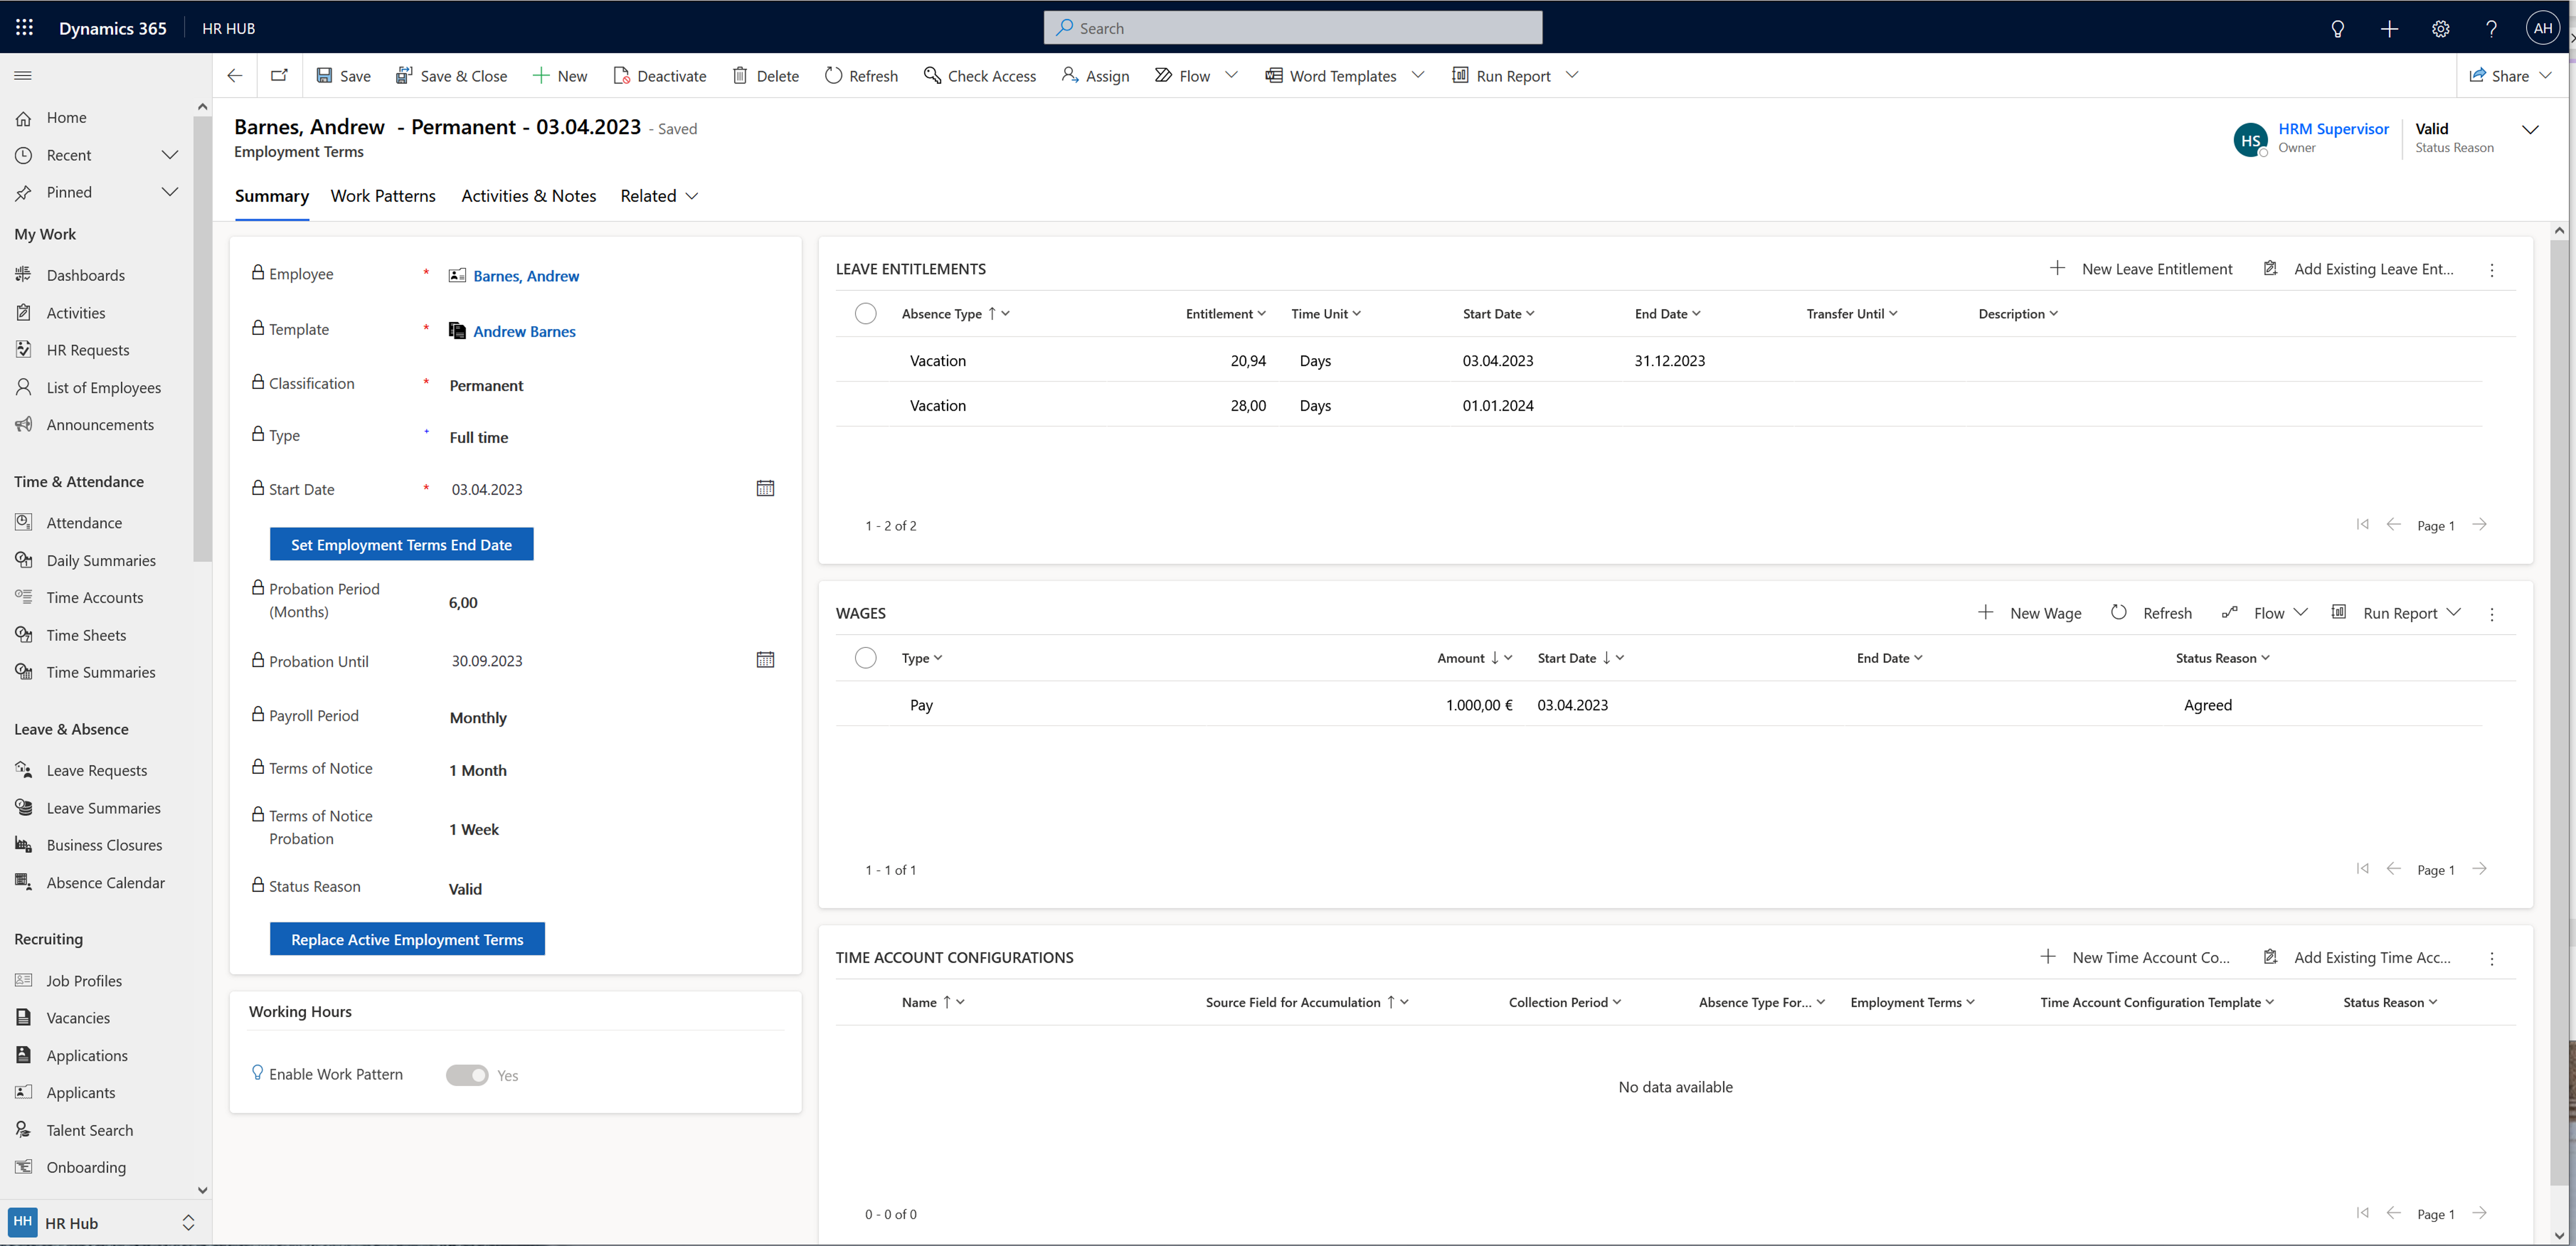
Result
As final result, you can view the employment term, including leave entitlements and wages:
Next step (Self-implementation Path)
- When all your employees have valid Employment Terms, the next step is to fill some important fields in their Digital Personnel Files to ensure all functionalities run smoothly.