
Create a Template to export Payment Summaries
1. Introduction
2. Create Template
3. Upload Template
4. Use Template
1. Introduction
In Dynamics HR Management you can use templates to export Payment Summaries and hand them over to your payroll provider. Unfortunately, the system where you want to import the template must be the same that was used to create it. The following article explains how to create, import and use a template.
In this article, we will use a monthly payroll period for the Consulting Department.
2. Create Template
2.1 Generate a Payment Summary
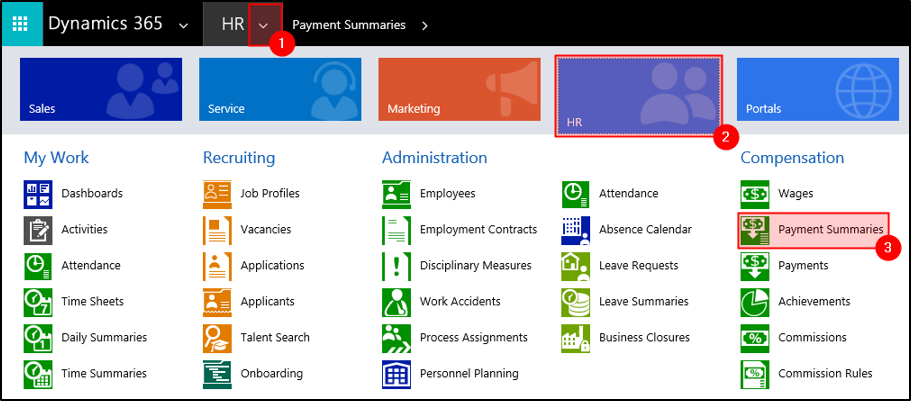
Go to NavBar -> HR -> Payment Summaries
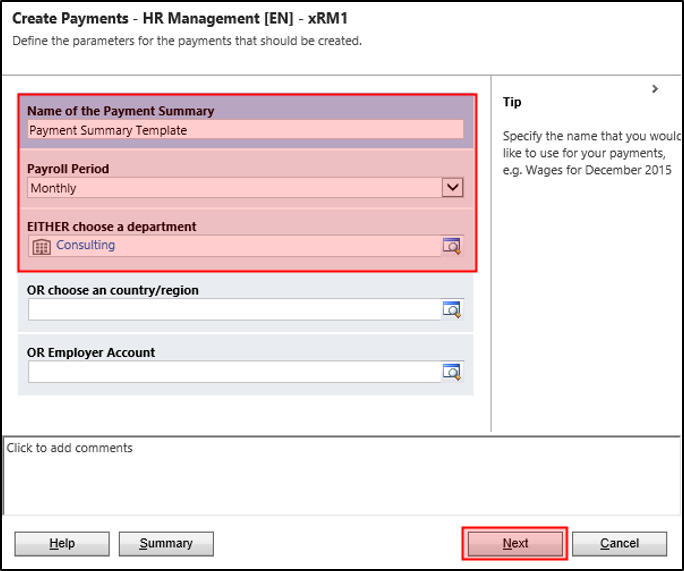
Select Generate Payments

- Enter a name for the summary, e.g. Payment Summary Template
- Choose a payment period, e.g. Monthly
- Choose what summary you want to create, e.g. for Consulting
Click Next.
Select a Start Date.
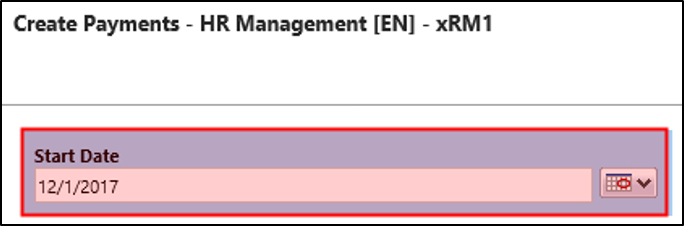
Click Next, again Next and then Finish.
2.2 Export Excel file
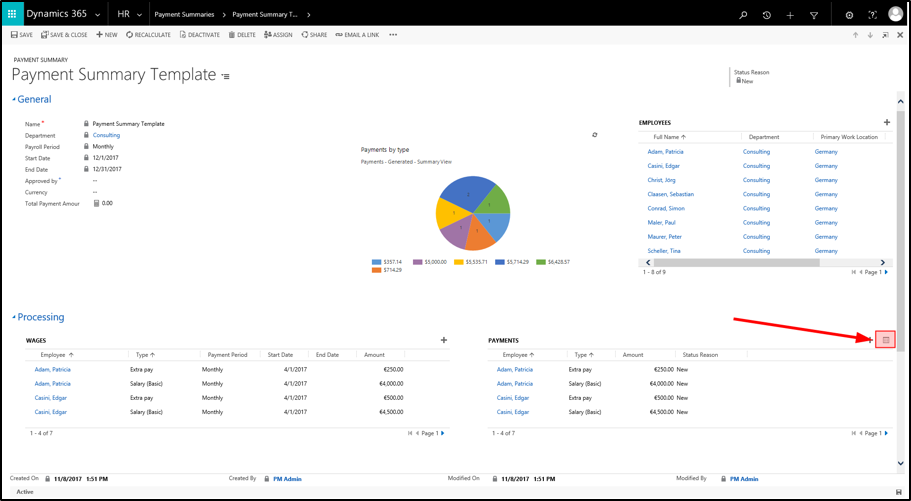
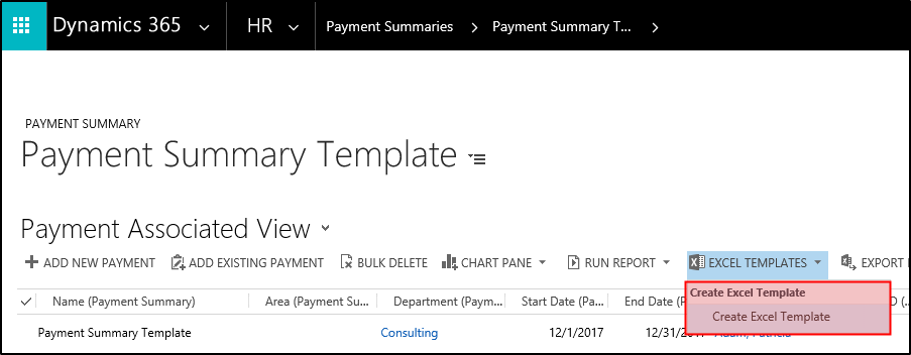
Open the Payment Summary (you may need to refresh the view for the summary to appear).
Click on See the records associated with this view (Symbol).
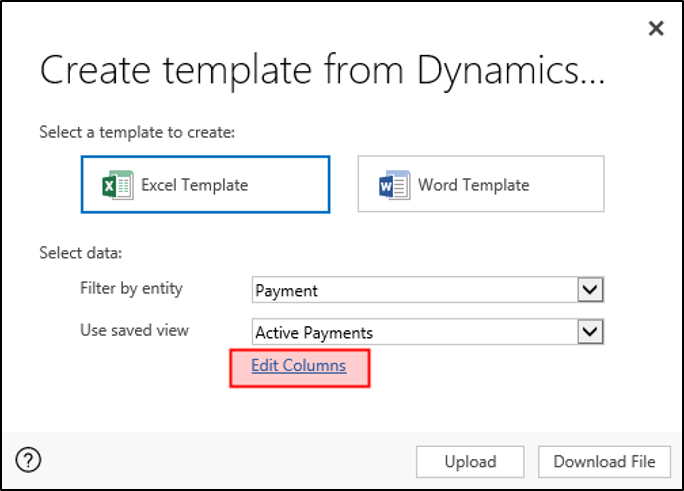
Click on Excel Templates -> Create Excel Template.
Click on Edit Columns.
The following table shows the Record Types (first row) and the corresponding Columns (row 2-5).
| Payment | Employee | Payment Summary |
|---|---|---|
| Amount | Department | Area |
| Date | Employee ID | Employer Account |
| Employee | Employer Account | End Date |
| Type | Payroll ID | Name |
| Primary Work Location | Start Date |
Click on Status Reason and then Remove.
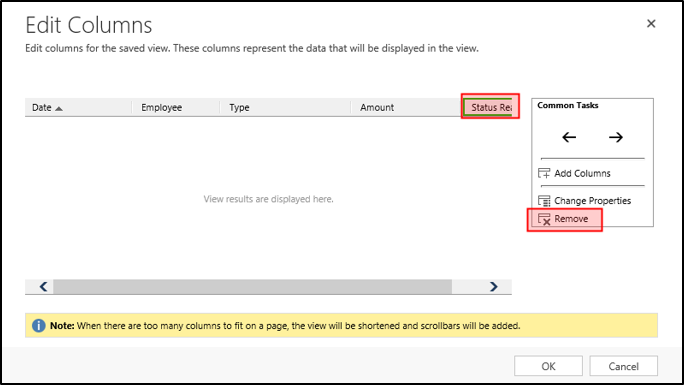
All the necessary columns for Payment should already be there.
Click on Add Columns.

Select the Record Type and check all the Columns stated in the table above. To add the columns, click OK.
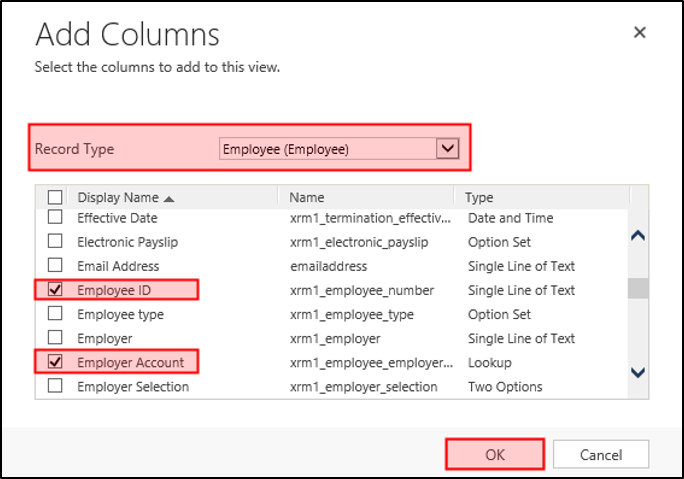
Repeat this process for the other record types.
After you added all the columns, click OK.
Click on Download File and save it.
Note: Don't close the payment summary yet, we will need this later.
2.3 Modify the Excel file
Open the downloaded File.
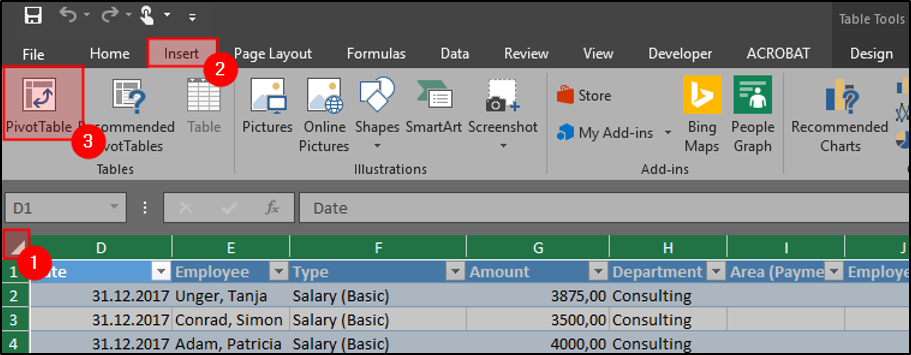
Select the whole sheet by clicking on the top left corner of the table.
In the Ribbon Bar click on Insert and Pivot Table.
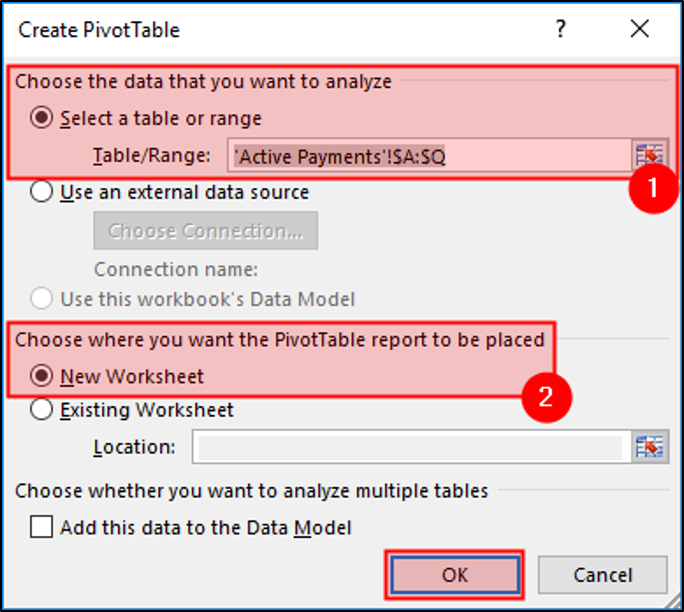
By default, it should select the correct range (1) and create a new worksheet (2). Click OK.
The view switches to the new sheet. First we need to focus on the PivotTable Fields to the right.
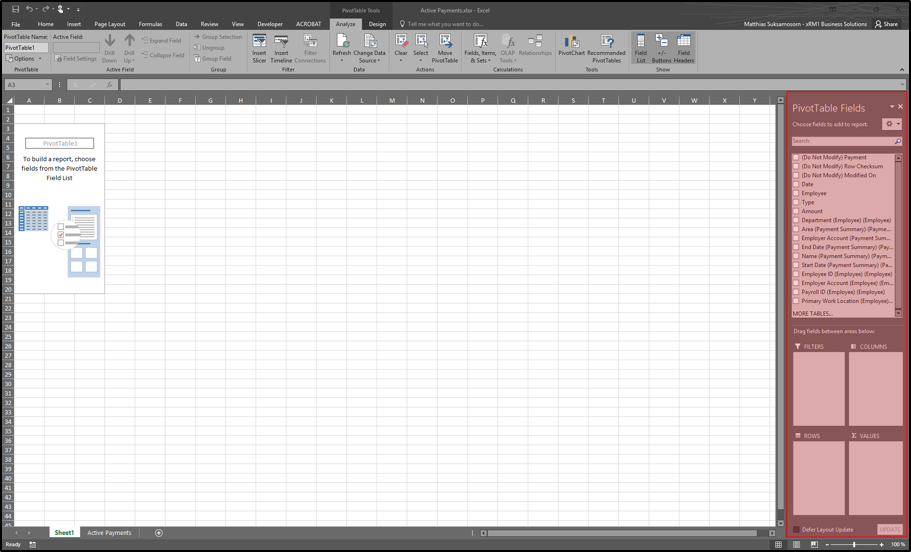
Drag the fields from the top to the areas below as stated in the following table.
| Columns | Rows | Values |
|---|---|---|
| Type | Department | Amount |
| Employee | ||
| Employee ID | ||
| Payroll ID |
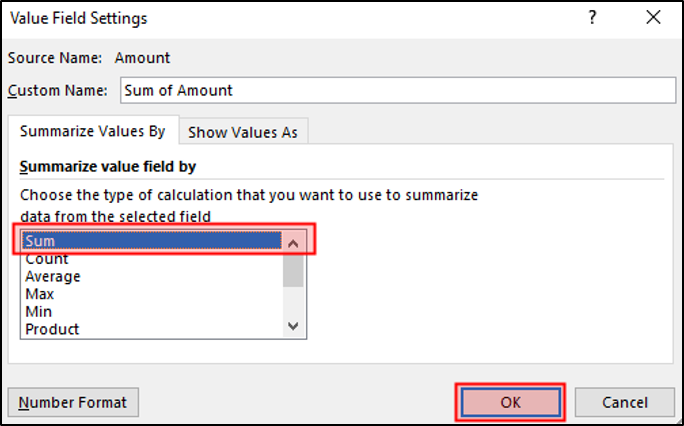
Click on Count of Amount and select Value Field Settings.
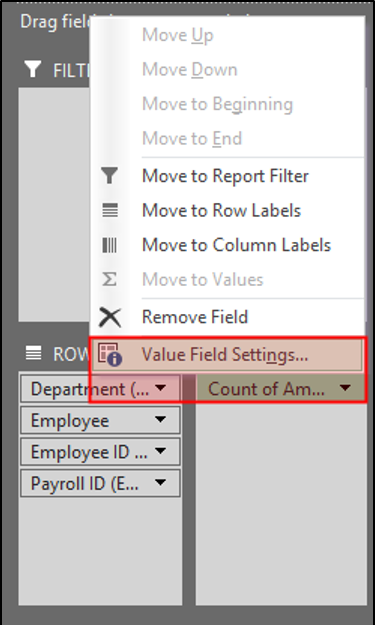
Select Sum and click OK.
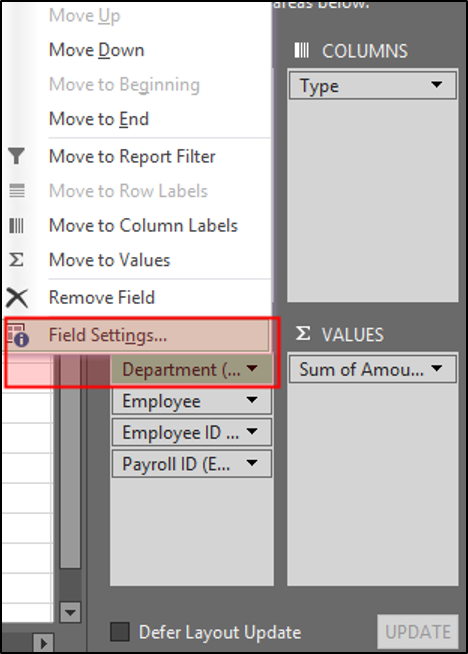
Click on Department and select Field Settings.
- In the ribbon Subtotals & Filters select None.
- In the ribbon Layout & Print select Show item labels in tabular form.
Click OK.
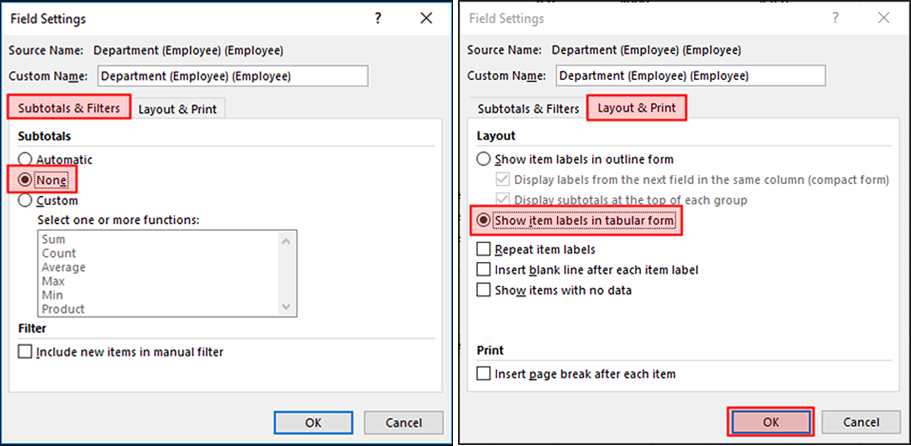
Repeat those steps for the rows Employee, Employee ID and Payroll ID.
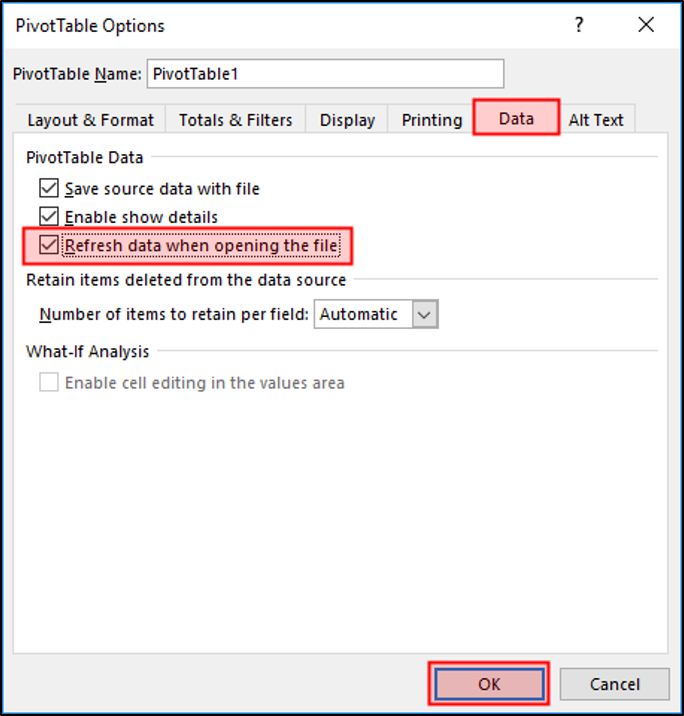
Right-click any field in the Pivot Table and select Pivot Table Options.
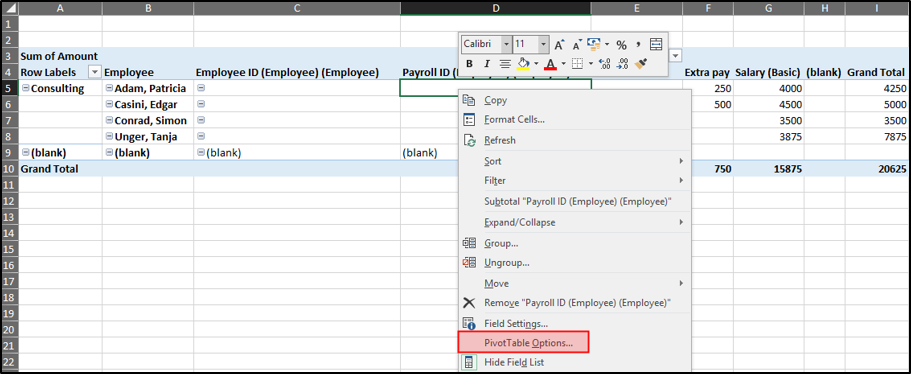
Go to the Data ribbon, select Refresh data when opening the file and click OK.
Above the Pivot Table, we need to add at least six rows.
Right-click the name label 1, select Insert and repeat this step.

Enter the following information in the newly created rows (e.g. in the cells B2 to B7).
- Payment Summary
- Start Date
- End Date
- Area
- Department
- Employer Account
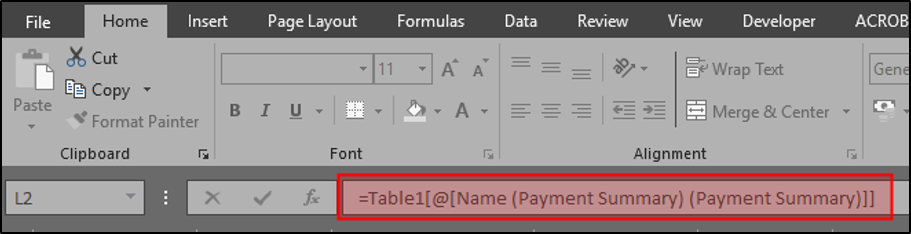
Click in the cell next to Payment Summary, enter an Equal Sign, go to the Active Payments - Sheet and click the second cell of the Name (Payment Summary) - Row.
Your formula should look somehow like in the picture below. Press Enter to confirm the selection.
Repeat these steps for Start Date, End Date, Area, Department, Employer Account.
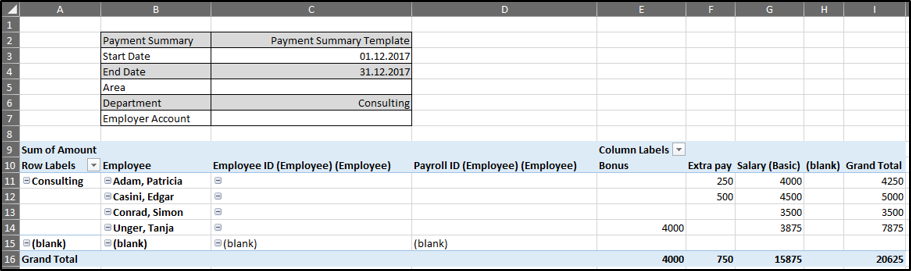
If you want, you can now format these cells for better readabililty. It could look like this:
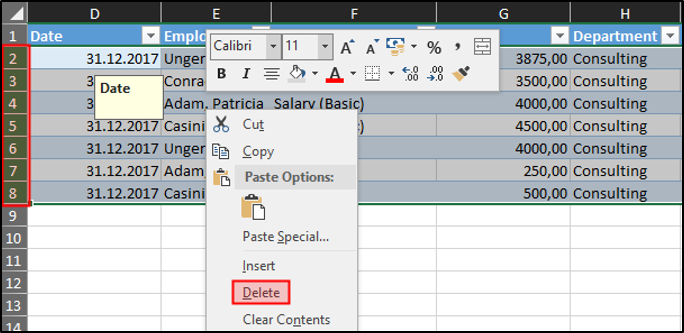
Go to the Active Payments - Sheet.
Beginning with the second row, mark all rows containing data, right-click and Delete.
Important: Go to the sheet containing the Pivot Table and click in any field before you save, so everytime you use the template, it will open this sheet.
Now save the file and close it.
Hint: The template name in Dynamics HR Management will be the same as the file name.
You can now upload the template for future use.
3. Upload Template
Go back to the payment summary we created earlier.
Again, click on Excel Templates -> Create Excel Template.
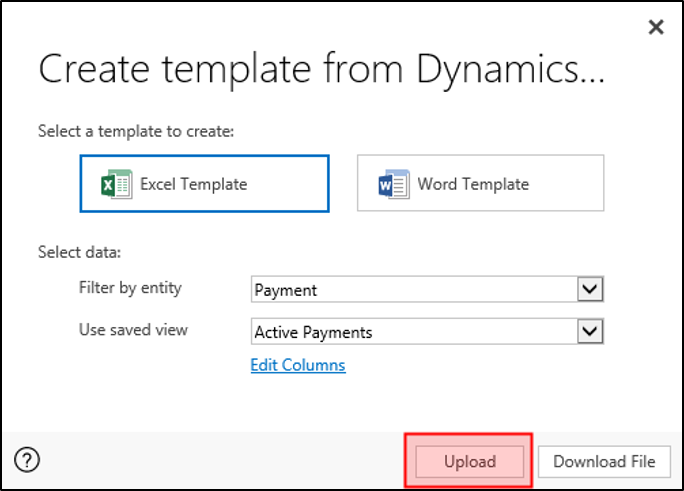
This time, click on Upload, browse for the template, click OK and then Upload.
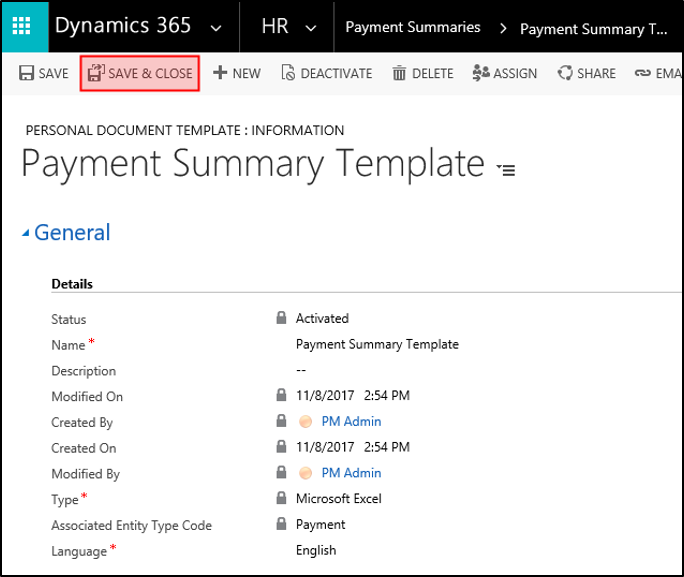
The record for the template opens.
You can simply Save and Close the record.
That's it. You can now use this template to export your payment summaries.
4. Use Template
Open the Payment Summary you want to export.
For Payments, click on See the records associated with this view (Symbol).
Click on Excel Templates.
As you see, our template is shown as a new option.
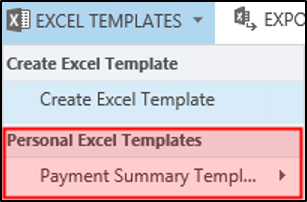
Click it and save the file.
When you open the file, it will show you the overview and the Pivot Table we created before including the payment details you chose to export.