Now that your HR for Dynamics Base Configuration is finished, it's time to import your employees into the system and fill their files with relevant data.
You can easily do this using Excel Import.
Import employees
Objective
Process
HR Manager
Add all necessary columns to the Employee List
HR Manager
Export the list to Excel Online
HR Manager
Fill in all relevant data
HR Manager
Import the Excel sheet back ínto the system
Prerequisites
- Make sure you finished the HR Base Setup
Click Through
- Log into your HR for Dynamics system with your Admin or HR Manager Account
- Open the App HR HUB
- Navigate to Employees
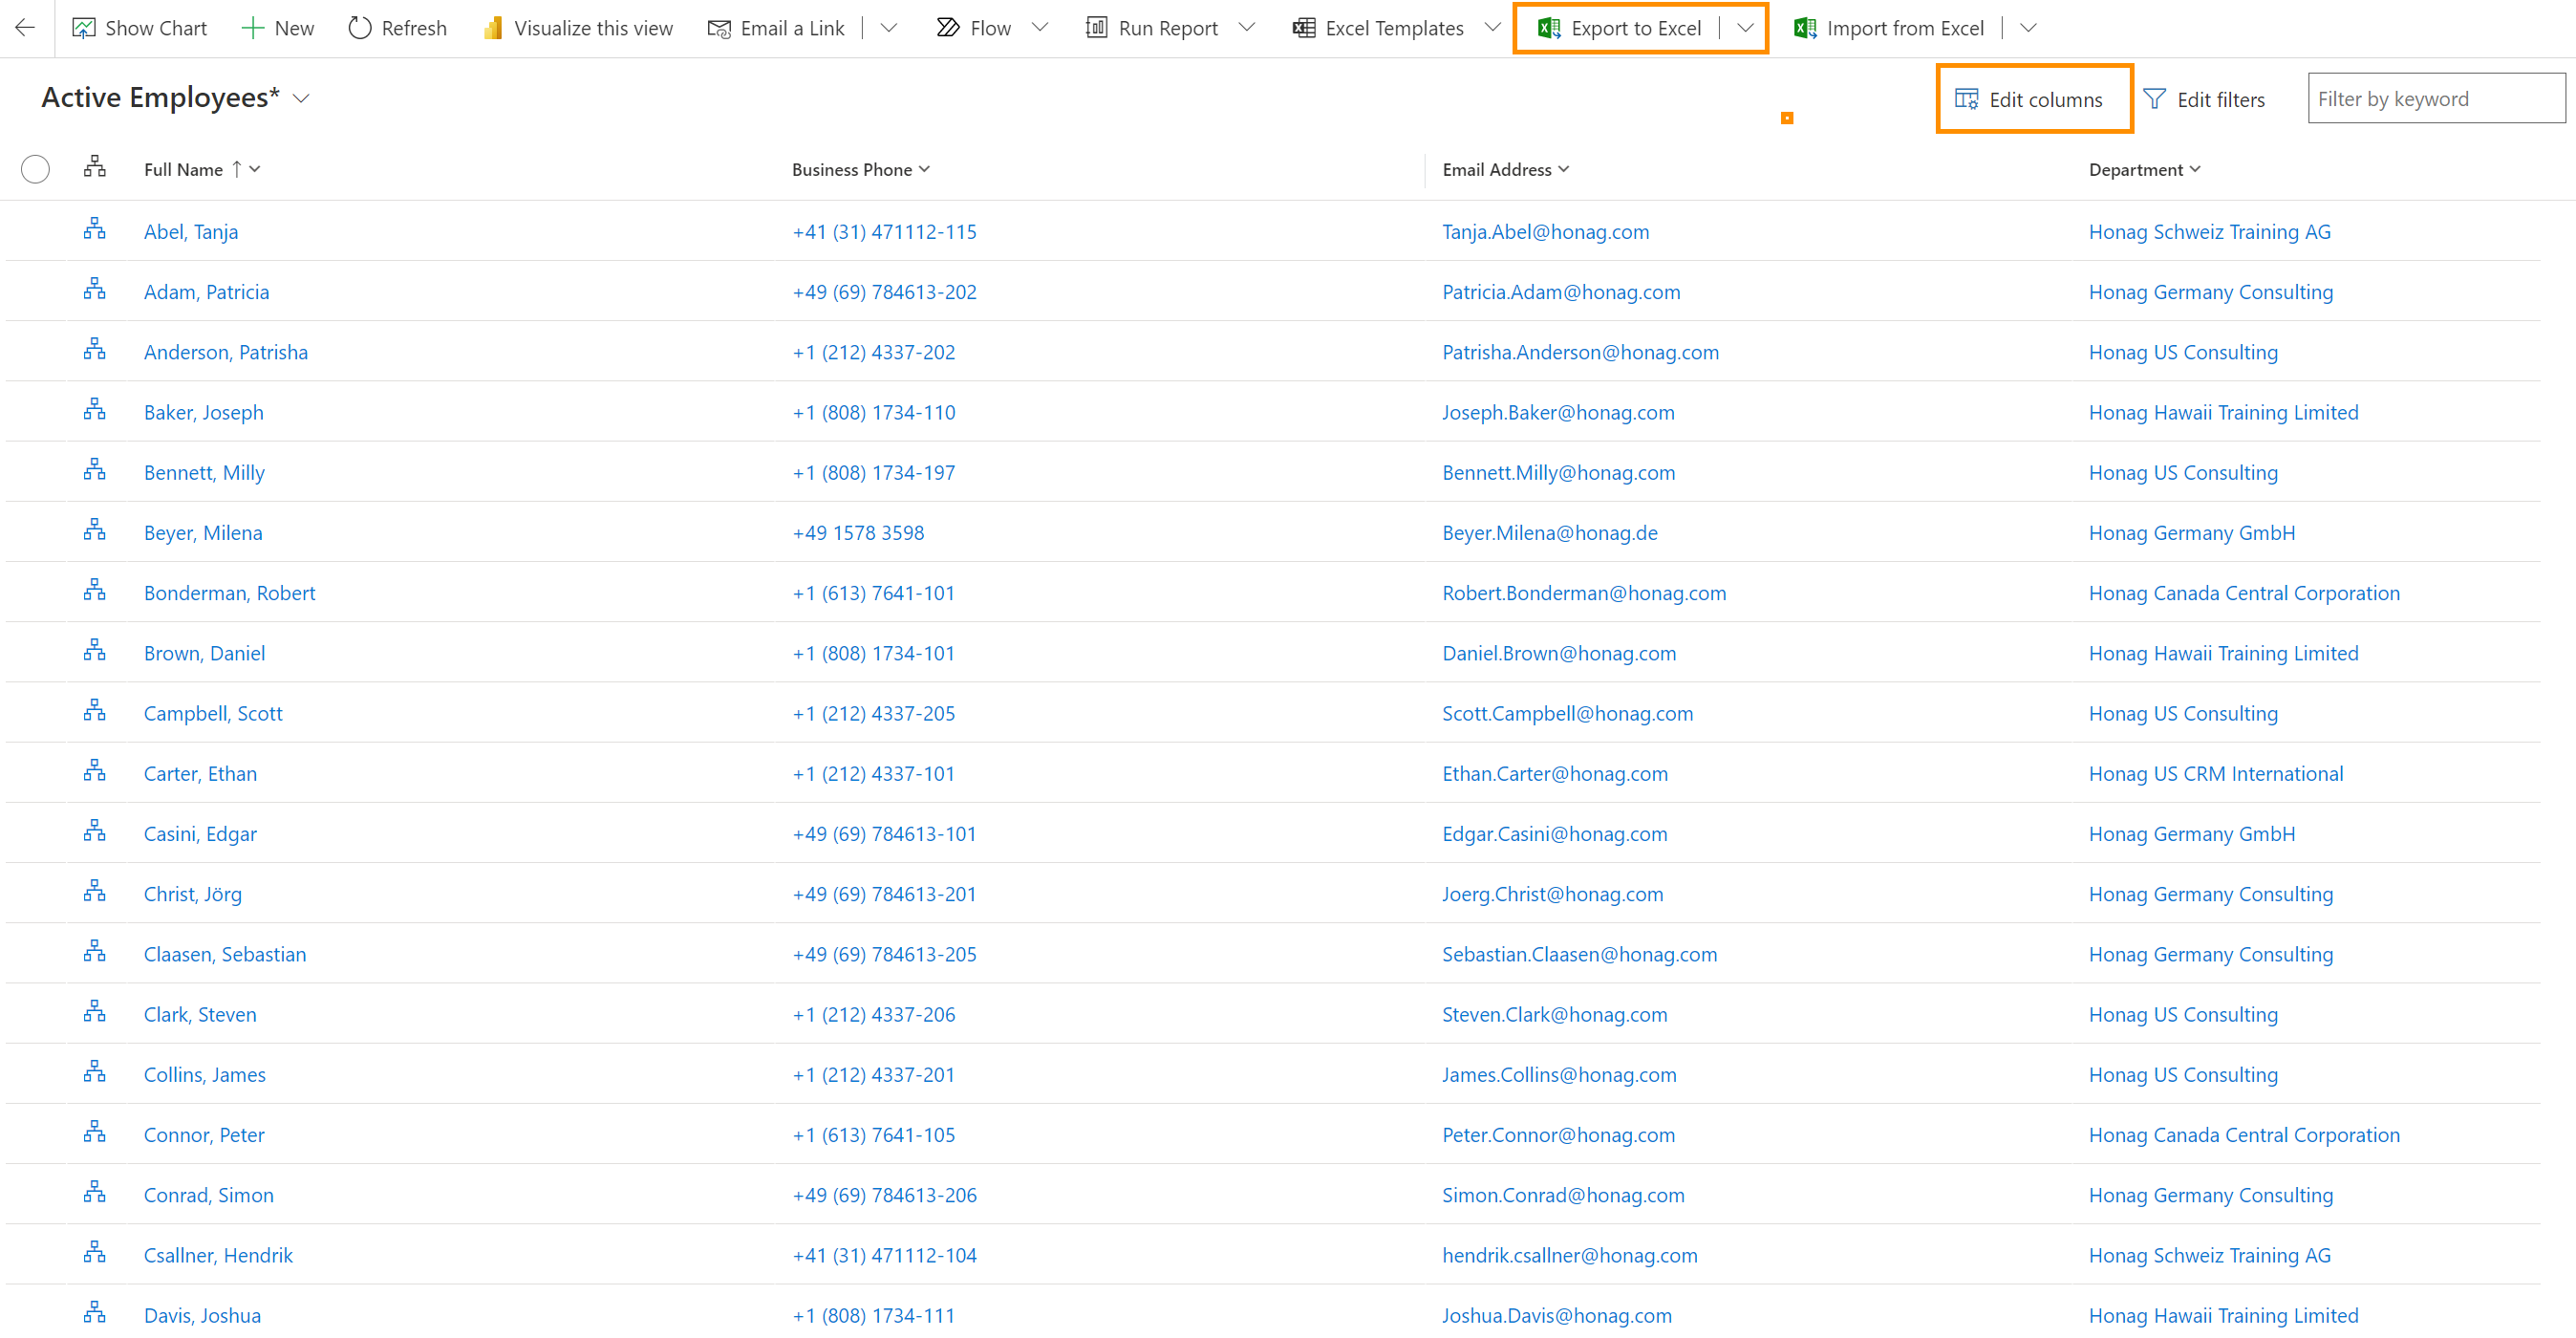
- The standard view "Active Employees" opens
- Click on the Edit Columns button in the top bar
- Remove the column for Supervisor
- Remove the column for Full Name
- Add columns for First Name and Last Name (and, optionally, Middle Name)
- Add a column for Gender
- You can optionally add more columns to be imported
- When you're done, save your columns in a view
- Export your list to Excel Online by clicking on the downward arrow next to Export to Excel in the top ribbon and then selecting Open in Excel Online
- In case you need to import a large number of employees, we recommend selecting Static Worksheet instead. This will download an Excel File to your computer. Open it, then continue with the next steps.
- Fill the First name and Last name for your employees in the Excel online sheet. Use one new row per employee.
- After you have added all necessary data to the Excel Online sheet, save it
- If you have added data to a static worksheet on your computer, import it to the system by clicking on Import from Excel in the top bar, then selecting the correct file.
- Wait for a moment until the data has been imported to your system
- If you add a very large number of employees at once, this may take a bit of time
- Optionally, you can monitor the status of the import
- Once all your employees are there, you can add important information which is the same for multiple employees via bulk edit
- For example, the language
- Your employees are now successfully imported to the system. In the next steps, we will add additional information and make adjustments to their Digital Personnel Files.
Hint
- To use the bulk edit feature, select multiple employees by checking the box in front of their name in the list, then click "edit" in the top ribbon to change data for all selected entries at once.
Result
Here you can see a list of active employees after the import:
Next step (Self-implementation path)
- After importing your employees, it's time to set up Employment Terms for them based on the previously created Employment Term Templates.