Customize Forms
Objective
In this comprehensive guide, we will walk you through the process of customizing forms in Power Apps, a fundamental part of the Power Platform. Customizing forms allows you to design and tailor the user interface for data entry and presentation to meet your organization's unique needs.
Prerequisites
- Access Permissions: Make sure you have the necessary permissions to modify forms within the app. (Minimum 'System Customizer'-Security Role or Admin)
- Data Model Understanding: Familiarize yourself with your app's data model, including which entities or tables the forms are associated with.
Click Through
Step 1: Open the Power Platform
- Launch the Power Platform by visiting the page make.powerapps.com
Step 2: Navigate to the Environment
- Choose the specific environment where you want to customize forms. Click on the top-right environment name to enter it.
Step 3: Navigate to the correct Solution
- Click on Solution in the left navigation
- Open your storage for customizations (see a guide on how to create one here)
Step 4: Access the Entity (Table) for Customization
- In your chosen Solution, you see all Objectives
- Navigate to Tables and click on the little arrow
- Now choose the specific entity (table) or data source that contains the form you want to customize. Click on the relevant entity.
Step 5: Access the Form Section
- Once in the entity, find and click on the Forms section. This is where you will customize the properties of the form.
Step 6: Select the Field to Customize
- In the Forms section, you will see a list of Forms associated with the entity. Choose the form you want to customize by clicking on its name.
Step 7: Start Customizing
- Click on the Edit or Customize button to enter the customization mode for the selected form.
Step 8: Customize Form Layout and Controls
- While in the customization mode, you can modify the form layout, add or remove controls, and customize control properties such as labels, data sources, and visibility.
- On the left side you see all available fields, which you can add by drag and drop to the form.
- By clicking on Components you have several input-options, like Timelines, Columns, Grids, Checkboxes, Option sets, ...
Step 9: Set Data Validation Rules (optional)
- If needed, you can define data validation rules, apply business logic, and create custom formulas to enhance the form's functionality.
Step 10: Save and publish your Changes
- Once you've made the desired modifications, don't forget to save and publish your changes by clicking in the left Navigation bar (Objects) on Tables and press the Button Publish all customizations
Hint
You can also create new Forms by clicking + New form on the top. You have some options here:
Main Form: (most likely used)
- Primary Data Entry Form: The main form is the primary form used for data entry and interaction in an entity or record. It is the most comprehensive and versatile form type.
Quick View Form:
- Read-Only Data Presentation: Quick view forms are designed for read-only data presentation. They display data from related records on the form without allowing direct editing of the data.
Card Form:
- Compact Data Presentation: Card forms are designed for a compact, card-like presentation of data. They are often used in galleries or list views to provide a summarized view of a record.
Result
Your customized form is now ready for use in your Power App. Customized forms ensure that the user interface is tailored to your organization's specific needs, improving data entry, user experience, and workflow integration.
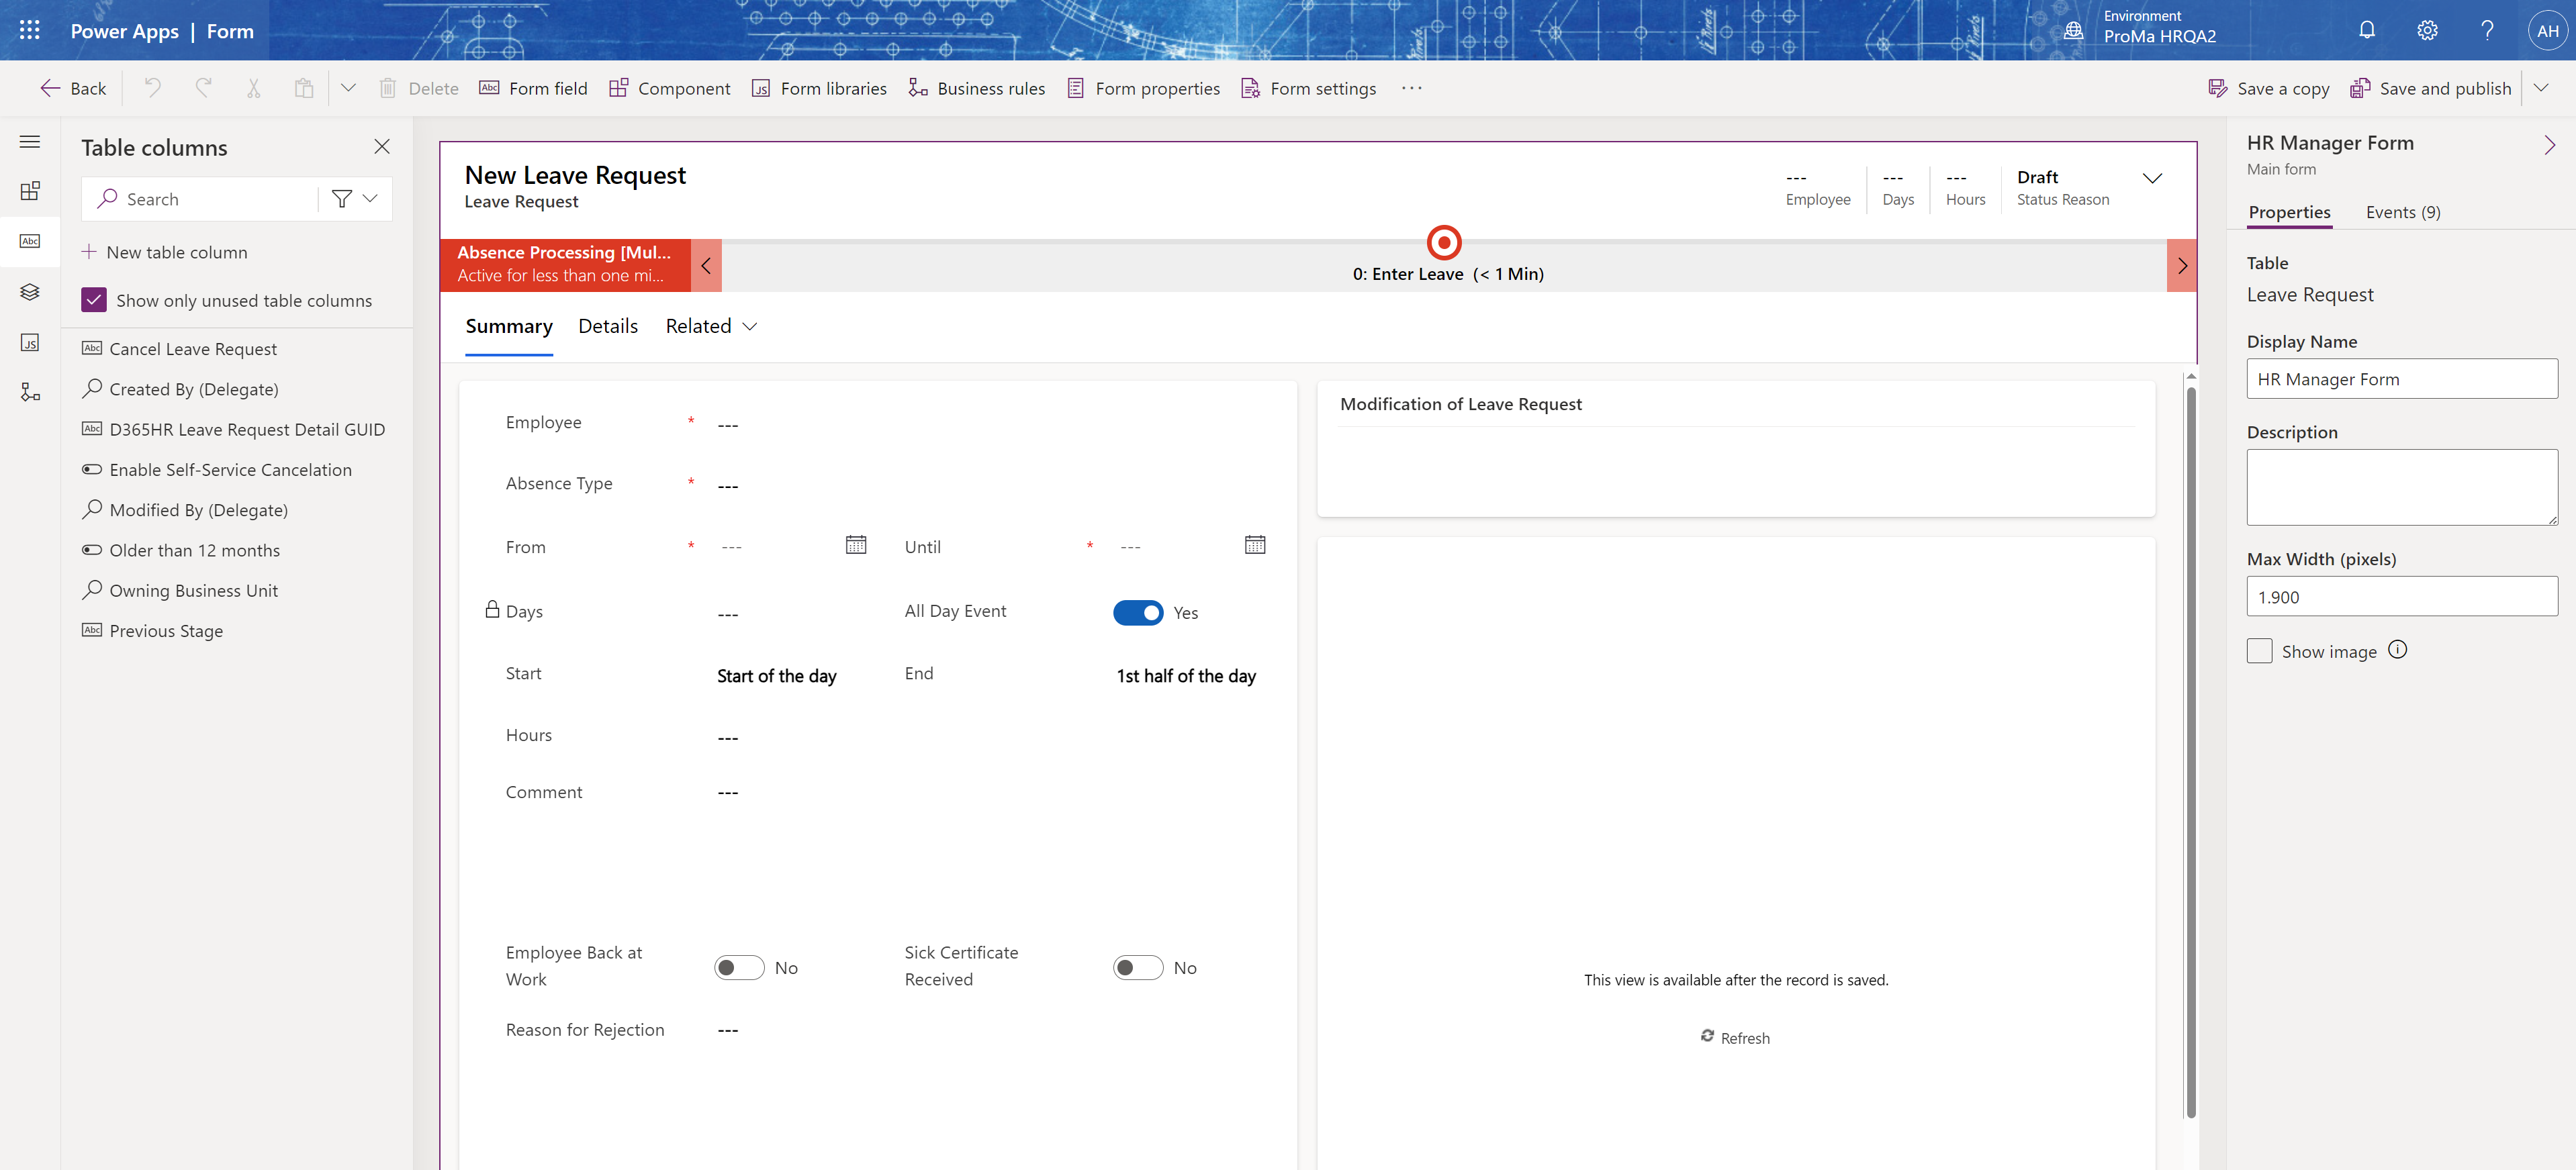
Below, you see an example for a customized form.
Below, you see an example for a customized form.