With this storage, you will always know what you have adjusted in your system, you can backup your customizations and, if required, move your customizations to multiple systems.
Create storage for customizations
Objective
In this comprehensive guide, we will walk you through the process of creating storage for your customizations in the Power Platform. This storages is essential for organizing and packaging app components, making it easier to manage, deploy, and distribute your Power Platform applications.
Prerequisites
- Access permissions: Make sure you have the necessary permissions to create an additional solution (Admin or 'Solution Customizer'-Security Role)
Click Through
Step 1: Open the Power Platform
- Launch the Power Platform by visiting the page make.powerapps.com.
Step 2: Navigate to the Environment
- Choose the specific environment where you want to create the storage for your customizations.
Step 3: Navigate to the Solution section
- Click on Solution in the left navigation.
Step 4: Create a New Solution
- Click on the + New Solution button to create a new solution, where your customizations will be stored. Give your solution a meaningful name and description.
- Provide the required information for your new publisher:
- Name: Enter a name for your publisher.
- Prefix: Specify a unique three-character prefix for your publisher. This prefix is used in solution components to uniquely identify them.LI>
Step 5: Add components to the solution
- Once your solution is created, click on it to open the Solution Explorer. Here, you can add & create various components to your solution, such as model-driven apps, flows, entities, and more.
Step 6: Add Existing Components
- To add existing components to your solution, click on the Add Existing button. Select the components you want to include, such as model driven apps, tables, or flows, and add them to your solution.
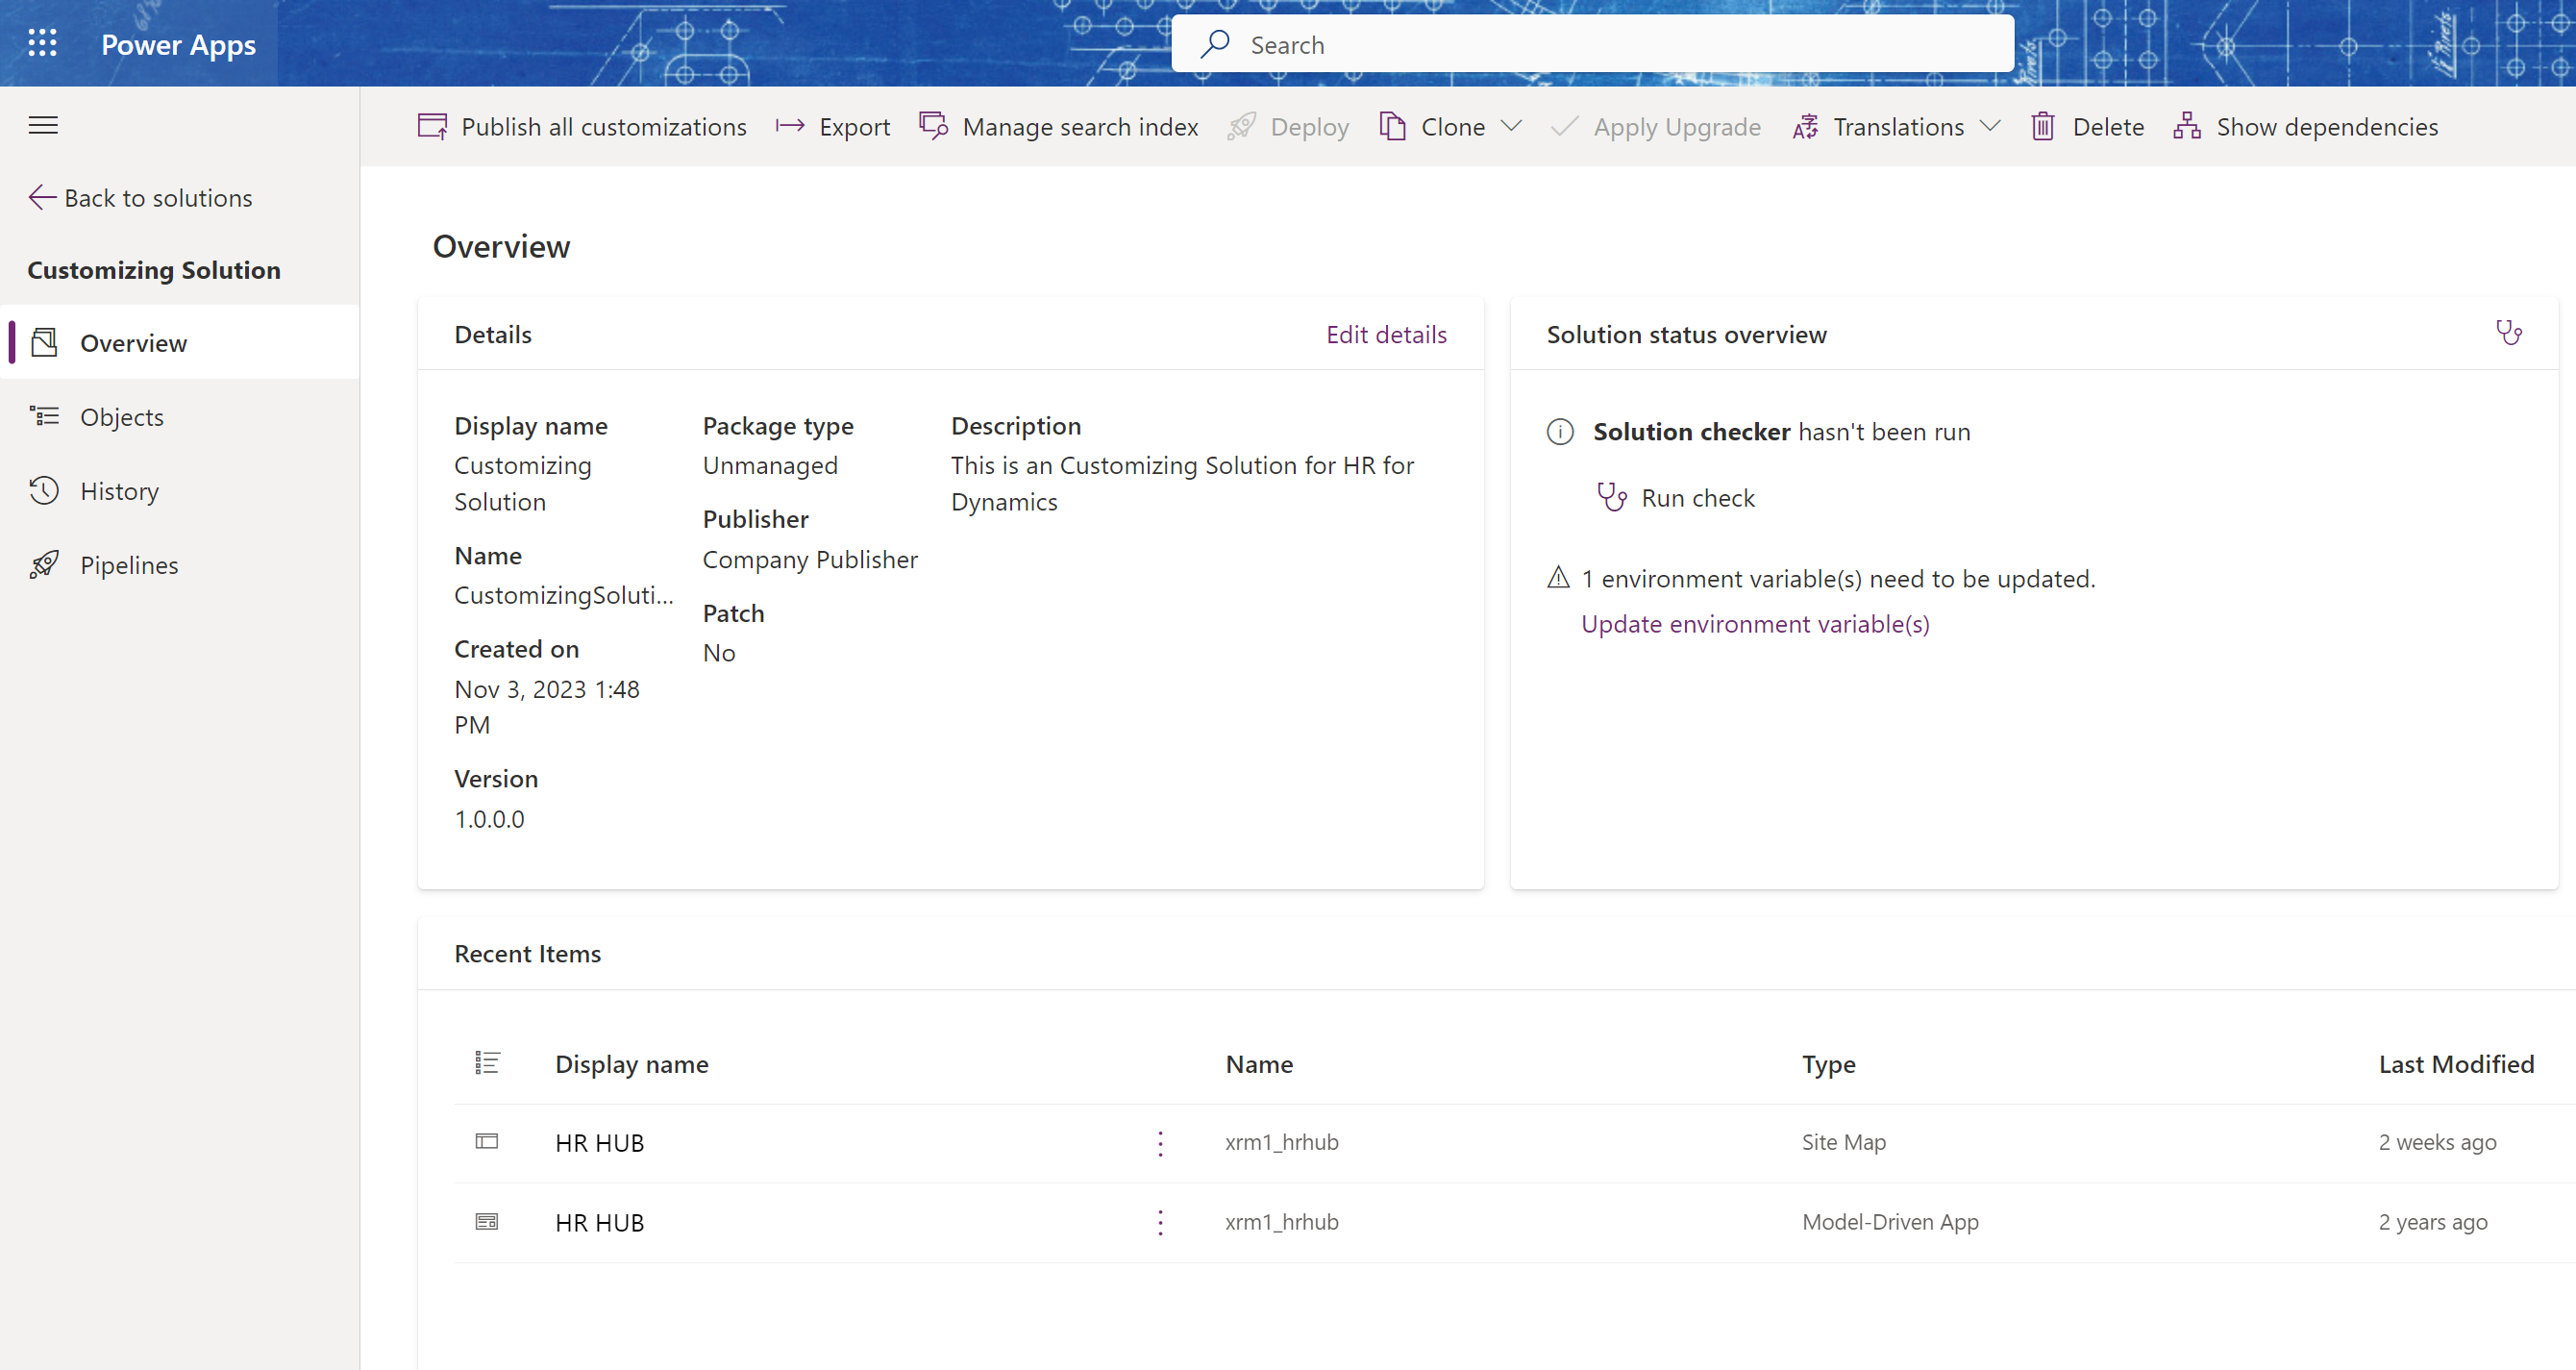
- To create a storage for your HR for Dynamics customizations, you should add the Apps, which you would like to customize, for example the HR HUB
- Click on App, and then Model-driven App
- Select HR HUB
- Add also the specific tables, fields, forms … to the storage for customizations
- Add only those components to the solution you need to customize
- Click Add
Step 7: Create new Components(optional)
- If you have new components to add to your solution, click on the New button, to create canvas apps, tables, or other elements directly within the solution.
Step 8: Configure Solution Properties (optional)
- Click on the Overview tab within the Solution Explorer, then on Edit details to configure solution properties, including versioning and publisher information.
Step 9: Save and Publish
- Once you've added all the necessary components and configured solution properties, click on Save and then Publish to make the storage for your customizations available.
Step 10: Export the storage for your customizations (optional)
- If you want to distribute the storage for your customizations to another environment or share it with others, you can export it. Click on Export and follow the prompts to save the solution as a .zip file.
Step 11: Install in another Environment (optional)
- If you exported the solution, you can import it into another environment. Navigate to the target environment, go to Solutions, and click on Import. Follow the prompts to upload and install the solution in which your customizations are stored.
Hint
If you want to learn more about solutions, you can visit this page: https://learn.microsoft.com/de-de/power-apps/maker/data-platform/create-solution
Result
You now have a storage for your customizations ready for use in your Power App.